Introduction to PayPal for Freelancers
PayPal is one of the most popular online payment platforms, especially for freelancers who need a simple and secure way to receive payments globally. Whether you’re just starting out or looking to expand your payment options, creating a PayPal account is essential for streamlining your freelance business transactions. In this guide, we’ll walk you through how to set up your PayPal account as a freelancer, ensuring that you can easily receive payments from clients worldwide.
Why Freelancers Need a PayPal Account
Freelancers need to be able to receive payments quickly and securely from clients across the globe. PayPal provides a trusted and convenient platform to do just that. With a PayPal account, you can:
- Send invoices to clients.
- Receive payments in multiple currencies.
- Transfer money directly to your bank account.
-
Use the “PayPal login” to access your funds anytime, anywhere.
Freelancers across various industries, including writing, graphic design, programming, and consulting, use PayPal to simplify their payment processes. The flexibility of PayPal makes it an essential tool for freelancers looking to operate seamlessly in the global marketplace.
Steps to Create a PayPal Account
Here’s a step-by-step guide to help freelancers set up their PayPal account.
1. Visit the PayPal Website
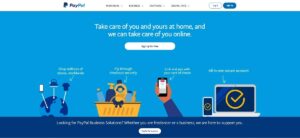
To get started, go to the PayPal website. On the homepage, you’ll see a “Sign Up” button in the top-right corner.
2. Choose Your Account Type
When you click on “Sign Up,” PayPal will ask whether you want to create a Individual or Business account. For freelancers, it’s best to start with a Business account, as this allows you to use additional features such as invoicing and accepting payments from clients.
- Personal Account: Great for individual users making personal transactions.
-
Business Account: Ideal for freelancers and businesses to receive payments from clients.

3. Enter Your Personal Information
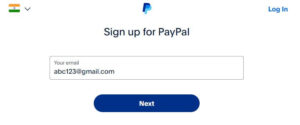
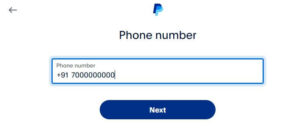
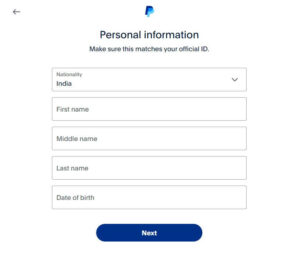
After selecting your account type, you’ll be prompted to enter your personal information, including:
- Name
- Email address (which will also serve as your PayPal login)
-
Password
Make sure the information is accurate, as it will be used to verify your identity and manage your account.
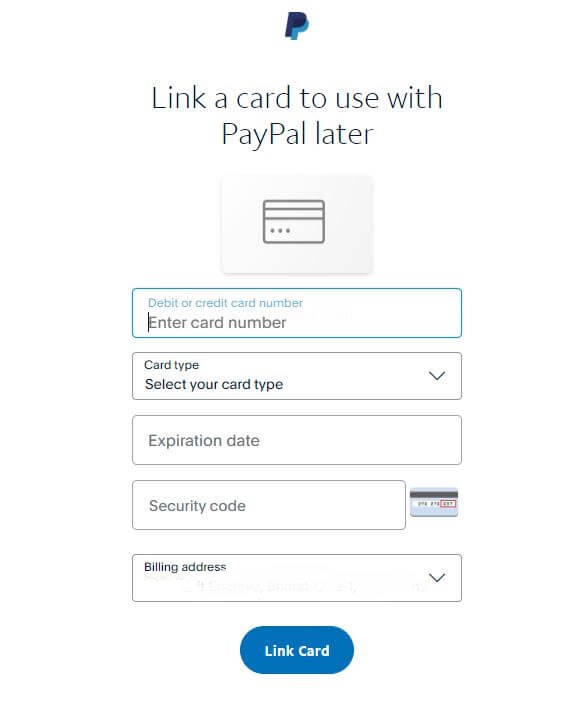
5. Link Your Bank Account or Credit Card
To withdraw your funds from PayPal, you’ll need to link either a bank account or a credit card to your account.
- Linking a Bank Account: This allows you to transfer payments directly to your bank. You’ll need to provide your account and routing numbers for verification.
-
Linking a Credit Card: Alternatively, you can link a credit or debit card to use PayPal for sending payments or as a backup payment method for your PayPal balance.
Once linked, PayPal may perform small transactions to ensure that your banking details are correct. This step typically takes 1-3 days.
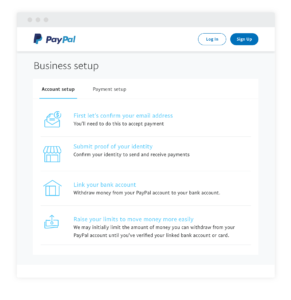
6. Set Up PayPal for Business Transactions
As a freelancer, it’s crucial to customize your PayPal account for business purposes. In your account dashboard, navigate to the Business Tools section to access features such as:
- Invoicing: Send professional invoices to clients.
- Payment Links: Share PayPal links with clients for easy payment processing.
-
Multi-Currency Support: Receive payments in different currencies without hassle.
How to Use Your PayPal Account as a Freelancer
1. Sending Invoices
PayPal’s invoicing feature is a great tool for freelancers. You can create and send invoices directly from your PayPal account. Follow these steps:
- Go to your PayPal dashboard.
- Click on Invoicing under the Tools section.
- Enter your client’s details, the services you provided, and the amount due.
-
Customize the invoice with your logo and business information.
Once your client receives the invoice, they can pay using their PayPal account or credit card.
2. Receiving Payments
Once you’ve sent the invoice, your client can easily make the payment by clicking on the PayPal link. You will receive an email notification when the payment has been made. The funds will be instantly credited to your PayPal account, ready for withdrawal or transfer to your bank account.
3. Transferring Funds to Your Bank
To transfer your PayPal funds to your bank account:
- Log in to your PayPal account.
- Click on Transfer to your bank under your available balance.
-
Choose your linked bank account and confirm the transfer.
Transfers usually take 1-3 business days, but this can vary based on your bank’s processing times.
4. Managing Your PayPal Balance
You can use your PayPal balance to make payments online or transfer the funds to your bank account. To check your balance, simply log in to your PayPal account and view it on the homepage.
Common Issues Freelancers Face When Using PayPal
While PayPal is a reliable platform, freelancers may face some common issues, including:
- Transaction Limits: PayPal may place limits on the amount you can withdraw or receive until your account is fully verified.
- Currency Conversion Fees: PayPal charges a small fee for currency conversions, which can add up if you frequently work with international clients.
Disputes and Chargebacks: Occasionally, clients may dispute payments. It’s important to keep records of your work and communications with clients to resolve such disputes through PayPal’s resolution center.
PayPal Security Tips for Freelancers
Freelancers should take several steps to ensure the security of their PayPal account:
- Use a Strong Password: Choose a strong, unique password and change it regularly.
- Enable Two-Factor Authentication (2FA): Add an extra layer of security by enabling 2FA. This requires a second form of identification (such as a text message code) when logging in.
Monitor Account Activity: Regularly check your PayPal account for unauthorized transactions and report any suspicious activity immediately.
Conclusion
Setting up a PayPal account as a freelancer is simple and highly beneficial for managing your payments globally. By following the steps outlined in this guide, you can easily create a PayPal account, start sending invoices, and receive payments from clients. Be sure to stay informed about PayPal’s tools and security measures to ensure smooth transactions as your freelance business grows.
If you haven’t already, take the time to create your PayPal account today, and streamline your freelance payment process!


